
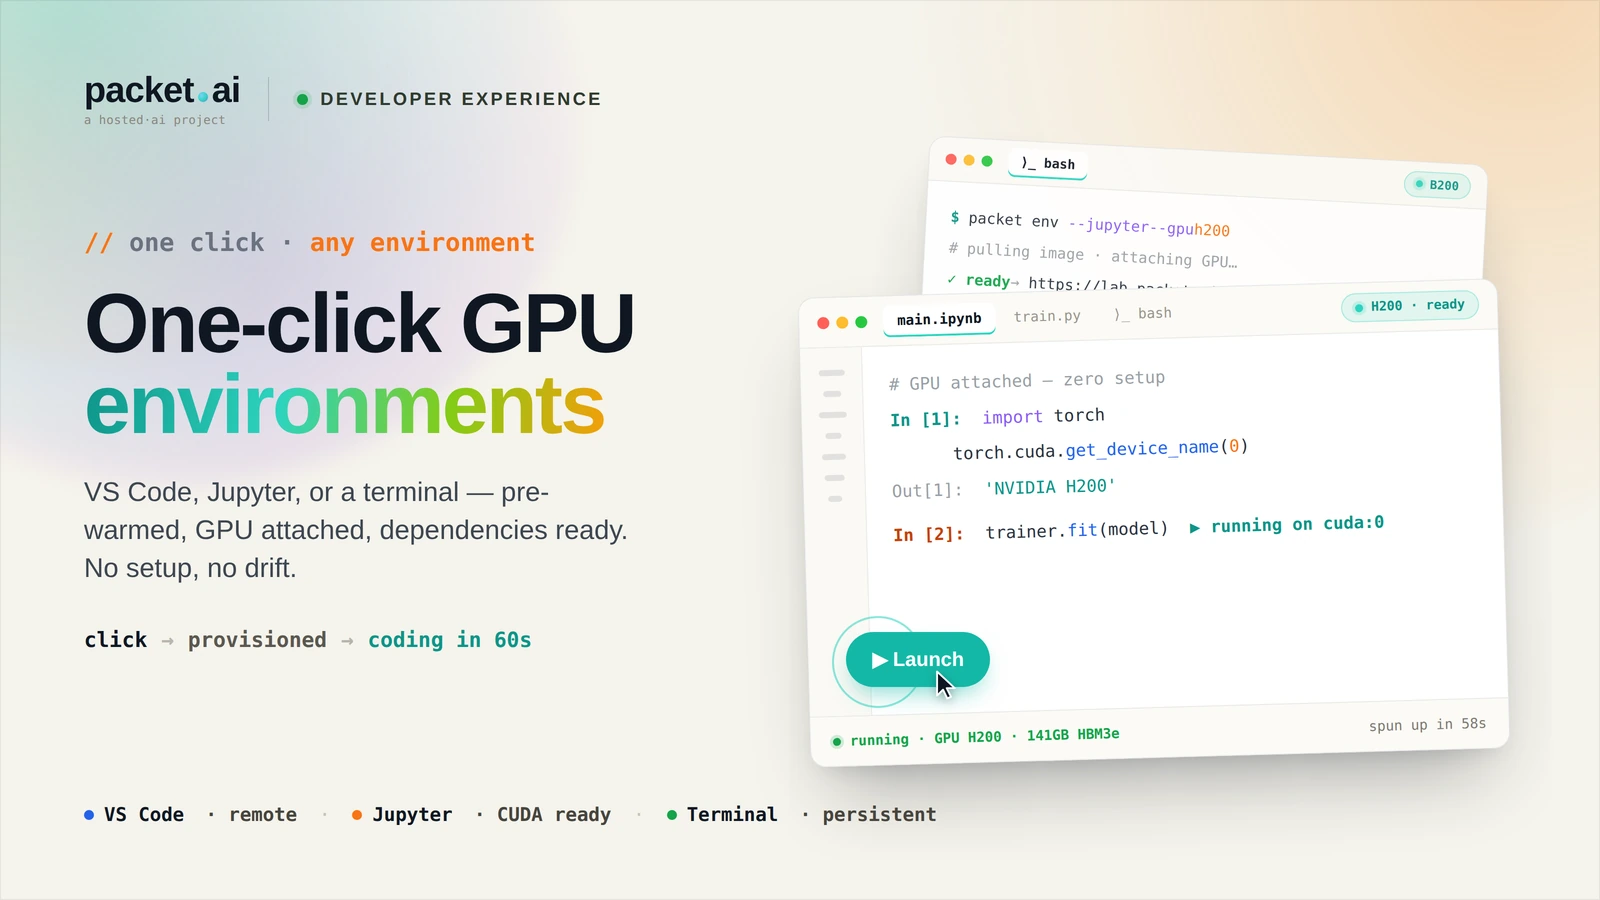
packet.ai GPU instances come pre-loaded with CUDA, PyTorch, TensorFlow, and Jupyter - no driver installation, no environment configuration. Here's how to connect VS Code, run JupyterLab, and use Docker with NGC containers on any packet.ai GPU.
packet.ai ships pre-configured GPU environments for VS Code, JupyterLab, and common ML frameworks - no setup, no driver installation, SSH-ready in under 5 minutes.
Key takeaways
Setting up a GPU development environment from scratch is a 2-4 hour exercise that has nothing to do with your actual work. CUDA version mismatches with your framework. Driver incompatibilities. cuDNN not on the path. PyTorch installed but not finding the GPU. Docker with GPU passthrough requiring a specific nvidia-container-toolkit version.
packet.ai instances are pre-configured to skip all of that. When you SSH in, CUDA is installed, the driver matches, PyTorch finds the GPU, and Docker has GPU passthrough enabled. The environment is tested - not just documented.
VS Code Remote SSH works with packet.ai instances without any additional tooling. The steps:
1. Add your instance to SSH config
Host packet-gpu
  HostName <your-instance-ip>
  User ubuntu
  IdentityFile ~/.ssh/packet_key
  StrictHostKeyChecking no
2. Connect from VS Code
Open the Command Palette (Cmd+Shift+P), select "Remote-SSH: Connect to Host", and choose packet-gpu. VS Code installs its server component on the remote host automatically - takes about 30 seconds on the first connection.
After that, File > Open Folder opens your remote filesystem as if it were local. The integrated terminal runs on the GPU instance. Extensions install on the remote. Python environments, linters, debuggers - all remote.
Port forwarding
To forward Jupyter or TensorBoard to localhost, use VS Code's Ports panel (Cmd+Shift+P > "Forward a Port") or add it to your SSH config:
Host packet-gpu
  HostName <your-instance-ip>
  User ubuntu
  IdentityFile ~/.ssh/packet_key
  LocalForward 8888 localhost:8888
  LocalForward 6006 localhost:6006
Jupyter is then available at http://localhost:8888 in your local browser. TensorBoard at http://localhost:6006.
JupyterLab is pre-installed on packet.ai GPU instances. Start it with:
jupyter lab --ip=0.0.0.0 --port=8888 --no-browser --NotebookApp.token='' --NotebookApp.password=''
Then SSH tunnel from your local machine:
ssh -L 8888:localhost:8888 ubuntu@<instance-ip>
Open http://localhost:8888. JupyterLab is running on the GPU instance. Notebooks execute on the GPU.
To verify GPU access from a notebook cell:
import torch
print(torch.cuda.is_available())  # True
print(torch.cuda.get_device_name(0))  # NVIDIA A100 80GB
print(torch.cuda.get_device_properties(0).total_memory / 1e9, 'GB')  # 79.2 GB
Docker is pre-installed with the NVIDIA container runtime. To run an NGC container:
# vLLM for OpenAI-compatible inference
docker run --gpus all -p 8000:8000 \
  vllm/vllm-openai:latest \
  --model meta-llama/Llama-3-8B-Instruct

# NVIDIA NeMo for training
docker run --gpus all -it \
  nvcr.io/nvidia/nemo:24.01 bash

# TensorRT-LLM
docker run --gpus all -it \
  nvcr.io/nvidia/tensorrt-llm:latest bash
The NVIDIA container runtime is configured. --gpus all passes all GPUs to the container. No additional setup required.
packet.ai base images ship with:
To check the exact versions on your instance:
nvcc --version
python3 -c "import torch; print(torch.__version__, torch.version.cuda)"
python3 -c "import tensorflow as tf; print(tf.__version__)"
By default, packet.ai instances have a persistent home directory. Files in /home/ubuntu survive reboots and are preserved when you stop and restart an instance. This includes your conda environments, pip-installed packages, cloned repos, and trained model checkpoints.
To clone your environment to a new instance, use the snapshot feature from the packet.ai dashboard. A snapshot captures the full disk state - your installed packages, config files, and data - and creates a new instance from it in under 5 minutes.
Every packet.ai instance has a web terminal accessible from the dashboard - no SSH client required. The web terminal runs a full bash session on the instance with GPU access. Useful for quick checks, debugging, or environments where outbound SSH is restricted.
The web terminal supports full terminal emulation including colour output, vi keybindings, and standard UNIX utilities. It is not a substitute for VS Code Remote SSH for active development, but it handles everything you would do in a standard terminal session.
Same models. Same API. Fraction of the cost. Start free — no credit card required.
Start Building →